
![]()
Islamic and Arabic Cross-stitch

If you do not know what cross-stitch is, or you want to learn how to cross-stitch, then you have come to the right place.
1. What is cross-stitch and what is counted cross-stitch?
2. What do I need to start cross-stitching?
3. What do patterns look like?
4. What are the pattern formats available on this website and how do I open them?
6. How do I keep my stitching neat on the back side?
1. What is cross-stitch and what is counted cross-stitch?
Cross-stitch is stitching a design using small x-shaped stitches. Counted cross-stitch means that you will have to count the number of stitches on the pattern and stitch exactly the same number on the fabric.
2. What do I need to start cross-stitching?
You need a needle, floss (thread), scissors, aida (fabric) and a pattern.
Needle: it has a bigger eye than the usual sewing needle. It is also not pointed.

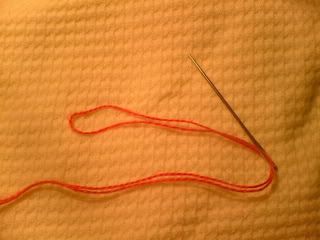
Floss: The floss is the thread. It often looks like this:

We call this a skein. A skein has 6 strands (threads). Usually we use 2 strands each time it is called 2 ply.
Aida:

the kind of fabric usually used for cross-stitch. It has big holes.
Aida is described according to the number of holes per inch.
It starts from 8 holes per inch till 24 holes per inch. The more holes per inch the harder it is to stitch. But it gives a better effect.
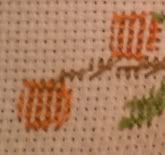
3. What do patterns look like?
Patterns come in different styles. You should choose the style that you feel more comfortable using.
Coloured blocks:
In this style each stitch is represented by a square. The different colours represent floss of different colours.

Coloured blocks and symbols:
This style uses both colours and symbols. (makes it easier to differentiate between the different shades of the same colour)

Coloured stitches:
The stitches are drawn for you over each square and the colour of the stitches represents the colour of the floss required.

Coloured symbols or black and white symbols:
They are very similar but the difference is in the colour.

There is usually a colour key that explains what each symbol means. That is to say which colour should be used for each symbol.
4. What are the pattern formats available on this website and how do I open them?
The pattern formats are the kinds of files they are saved in.
a. JPG format: a graphic (an image). You open it using an image viewing program like Microsoft paint for example, and then you can print it out.
b. PDF format: it opens with the free Acrobat Reader Software. You can download it for free by clicking here: http://www.adobe.com/products/acrobat/readstep2.html
c. PC Stitch format: you can open it using the free PC-Stitch pattern viewer. You can download it for free by clicking here: http://www.pcstitch.com/PatternViewer/PatView.aspx
PC Stitch format gives you the most options for viewing and printing your pattern.
5. How do I start stitching?
Let us start by making a simple stitch before thinking about the details.
a. Thread the needle with the colour of the floss you want.
b. Tie a knot at the end of the thread (this time only, you will learn a better way later on).
c. Start at the lower side of the fabric (back).
d. Push the needle up one hole until you are stopped by the knot.
e. Locate a hole that lies diagonal to the one you came up from. (Not the hole above it but the hole beside the hole above it). Push the needle down the hole.

f. Get the needle out of the hole just above the one the needle originally came out from.
g. Locate the hole that lies diagonal to the one you just came up from. Push the needle through it so that it comes out from the back side.
h. You have an x-shaped stitch. This is a cross-stitch. Congratulations! You have made it!
If you stitch more than one stitch, then you can go up in a vertical way making half stitches, then when you reach the number of stitches required you go down again finishing up these stitches and completing them into whole ones.
Here are the steps:
g. Carry out steps from a - f then repeat the steps for the number of vertical stitches you need.
h. Locate the hole that lies diagonal to the one you just came up from. Push the needle through it so that it comes out from the back side.
i. Come out of the hole beside it. You have then completed your first stitch.
j. Repeat steps h and i until you complete all the half stitches you have started.
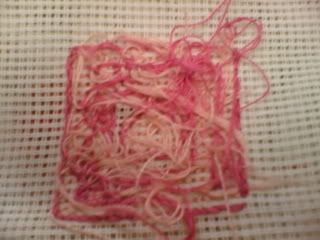
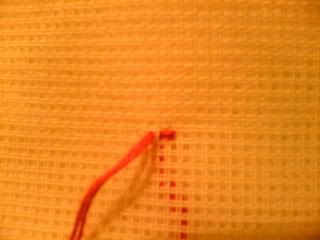
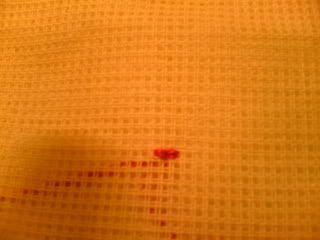
6. How do I keep my stitching neat on the back side?
(This is the back side of the fabric)
This is how it should look
This is how it should not look
Well, you could do that by making sure there are no threads flying around the back side. We do this by:
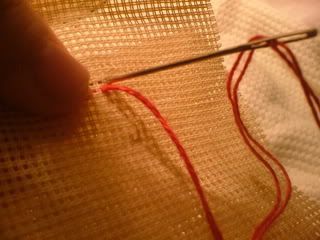
* Not tying a knot at the beginning.
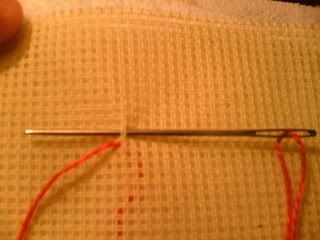
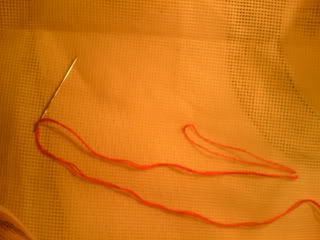
a. By folding the thread into 2. Thread the needle with it. At one of the two ends of the thread you will get a loop.
b. Push the needle from the lower side to the upper side without tying any knots. Stop the loop from passing from the hole with your finger. (the other end of the thread should pass through the hole).
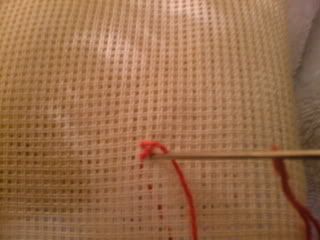
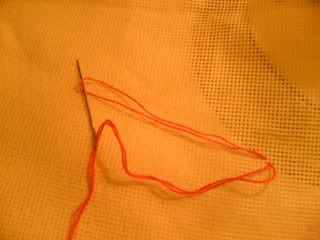
c. Push the needle down the hole that is diagonal to the one the needle came out from.
(This is the upper side of the fabric)
( This is the lower side of the fabric.)
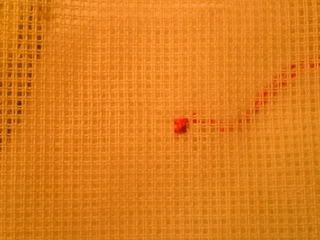
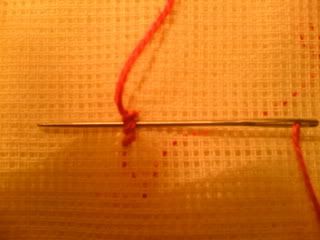
d. Pass the needle through the loop that is formed.
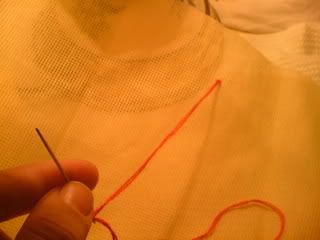
f. Pull the thread. It is tied with no need for a knot.
* Not tying a knot at the end.
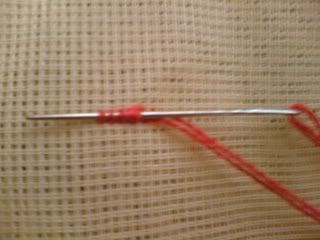
- When a piece of thread is about to finish. Move the needle with the little thread that is left under a few stitches. This way the thread will be trapped and will not move or become loose. Cut off any extra thread.
7. What is a backstitch?
A backstitch is a straight kind of stitch that goes backwards.
Start at the Lower side of the fabric. Push the needle upwards. Move towards the hole that is straight behind the hole the needle just came out of. Push the needle down the hole. The needle comes out at the lower side of the fabric. Move the needle towards your starting point. Move past your starting point towards the hole just behind it. Push the needle up the hole towards the upper side of the fabric. Repeat the steps as needed.

Please write to me and give me your feedback on this tutorial. I welcome any suggestions, questions or comments. Click here to email me.
This Website Built and Hosted for Free at Bravenet.com